

Like me, you’ve probably spent countless hours and dollars on perfecting your brand Your website looks incredible, and you’re ready to start getting more clients. You’ve spent hours putting together beautiful proposals within Dubsado, but it just doesn’t quite match your website. Adding custom fonts to your Dubsado forms is one of the easiest and quickest ways to up-level your forms and make sure they match your brand perfectly.
This tutorial is going to teach you how to add custom fonts to your forms, if you’re using Google fonts, check out this tutorial.
Just a note before we start, you may find in the edit mode of Dubsado the fonts aren’t working. However, they should show in the preview mode.
Step 1: Prepare the font files
Before you do anything, and I can’t stress this enough, make sure you have a valid license. Webfont licenses allow you to embed the font into a website or email, this is very different from a desktop license. Without it you can end up in very expensive trouble – it’s not worth the risk.
If you’ve got the correct license the first step is to download your files. You’ll need .woff and .woff2 at a minimum. Most modern browsers use .woff or .woff2, however if someone is using an older browser, it’s worth having .ttf and .eot files to ensure greater compatibility across all browsers. To understand more about the different font file types, check out this post.
Depending on where you bought your fonts, you may not already have all of the different file types. Luckily, there’s are some awesome font file generators around. Try Transfonter or Font Squirrel.
Once you’ve got all of your font files ready, you can head to the next step.
Step 2: Host your font files
You’ll need somewhere to host your font files as you can’t upload them directly into Dubsado.
Hosting fonts with WordPress
If you’ve got access to your hosting cPanel or FTP settings, it’s often easiest to upload your fonts directly into your website’s hosting files, as you’ll be less likely to run into issues where your font gets blocked and won’t display. Simply upload your fonts into your hosting files and make a note of their path (url). Uploading your fonts to your server will vary for each host, if you’re not sure how you’ll need to talk to your host.
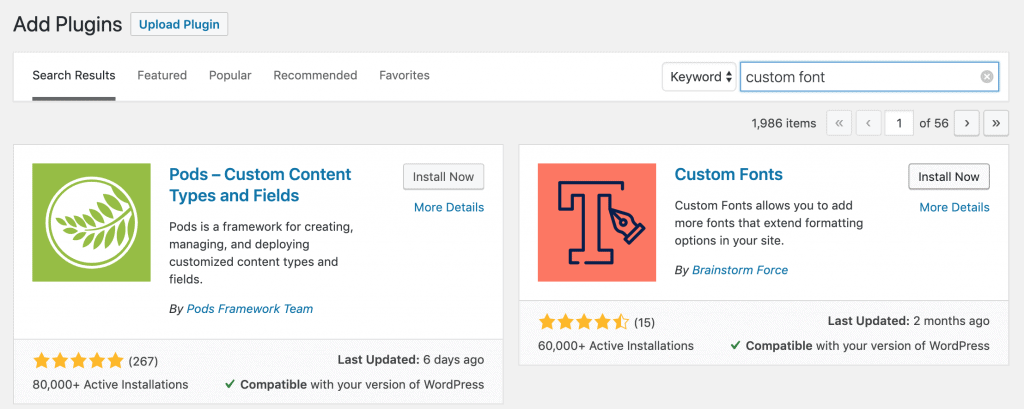
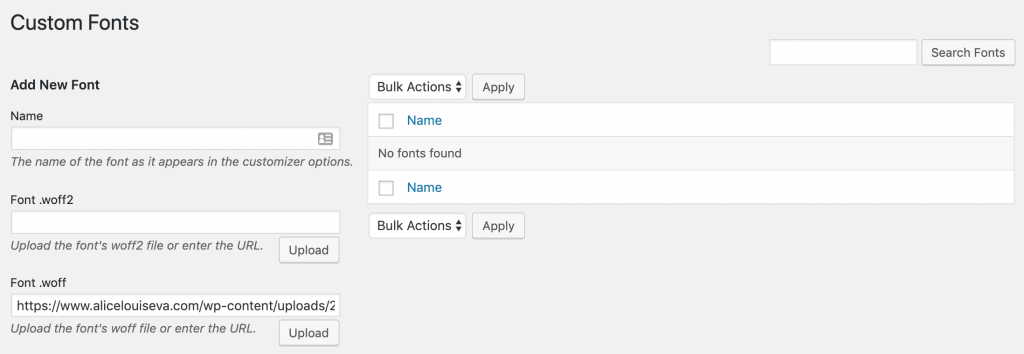
If you don’t have hosting access or would rather upload via WordPress read on. By default, WordPress doesn’t allow you to directly add font files through your media library. However, if you install the plugin ‘custom fonts’, you’ll be able to upload the fonts to your site.
A common issue people run into when hosting their fonts on WordPress is when the custom font still doesn’t display in their Dubsado Forms. It’s known as cross-origin resource sharing (CORS). We have a few tips on how to fix this at the end of this post.
You’ll need the URLs that are generated when you upload your fonts later – so keep them handy!
Hosting fonts with Squarespace
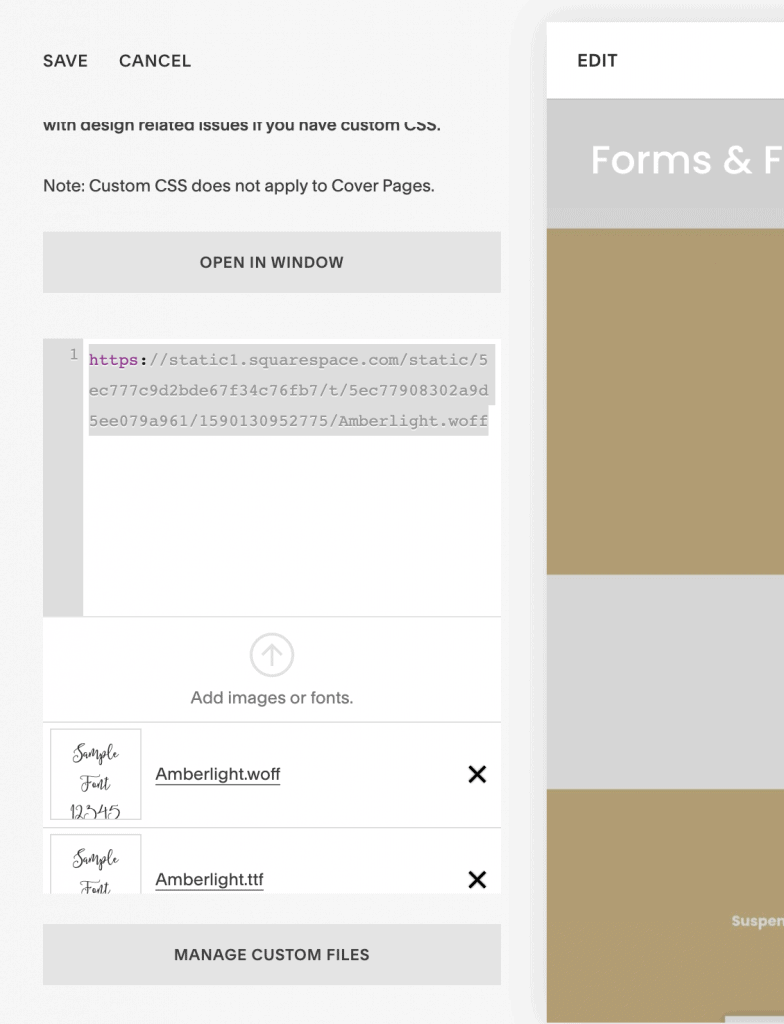
Uploading your fonts to Squarespace is pretty simple. Head to DESIGN >> CUSTOM CSS. Just below the CSS code space you’ll see Manage Custom Files. Upload your font. Once your font is uploaded, click on the file and it will add the URL to your CSS code. From there you can simply copy and paste that URL. You’ll need to upload each font file type! Once you’ve finished you can delete the URLs from your Squarespace CSS editor to avoid any coding errors on your site.
Step 3: Import the font files to Dubsado
Once you’ve got the URLs of your fonts, you can head to your Dubsado form. You’ll need to tell your CSS where to find the font.
Copy the code into the CSS editor and get styling! Note that the code is wrapped in style tags!
Replace the font-family name and the URLs to match your custom font, you can remove a line if you don’t have the corresponding font type.
It’s best practice to supply many different font files such as woff and ttf, as some browsers may struggle to load certain file types.
If you’d like to add multiple fonts you’ll need to repeat the code for each individual font, making sure each font has the complete block starting with @font-face { and ending with a }.
@font-face {
font-family: 'imogen';
src: url('https://formsandflows.com/wp-content/uploads/2020/05/imogen_agnes-webfont.woff') format('woff'),
url('https://formsandflows.com/wp-content/uploads/2020/05/imogen_agnes-webfont.woff2') format('woff2'),
url('https://formsandflows.com/wp-content/uploads/2020/05/imogen_agnes-webfont.ttf') format('truetype');
font-weight: normal;
font-style: normal;
}
Step 4: Assign the fonts
You will now want to declare where the font should be used within your forms and proposals. Copy the CSS code below and get styling!
/* =========================
   FONTS STYLES
   ========================= */

.dubsado-form, .dubsado-form p {
	font-family: 'poppins', sans-serif;
	font-weight: 400;
	font-style: normal;
	line-height: 1.8;
	color: #6e6e6e;
}

.dubsado-form h1  {
	font-family: 'imogen', script;
	font-weight: 600;
	color: #000000;
	font-size: 4em;
}

.dubsado-form h2  {
	font-family: "Playfair Display", serif;
	font-weight: 600;
	color: #000000;
}

.dubsado-form h3 {
	font-family: "Poppins", serif;
	color: #000000;
}

.dubsado-form h4 {
	font-family: 'Homemade Apple', cursive;
	font-style: normal;
	color: #000000;
}

b,
strong {
	font-weight: 600;
}
The code above will allow you to style your tags within Dubsado’s text block formatter. You’ll also be able to use them in any HTML code you in custom code blocks.
Step 5: Use your fonts in Dubsado!
Use the fonts within Dubsado’s text editor
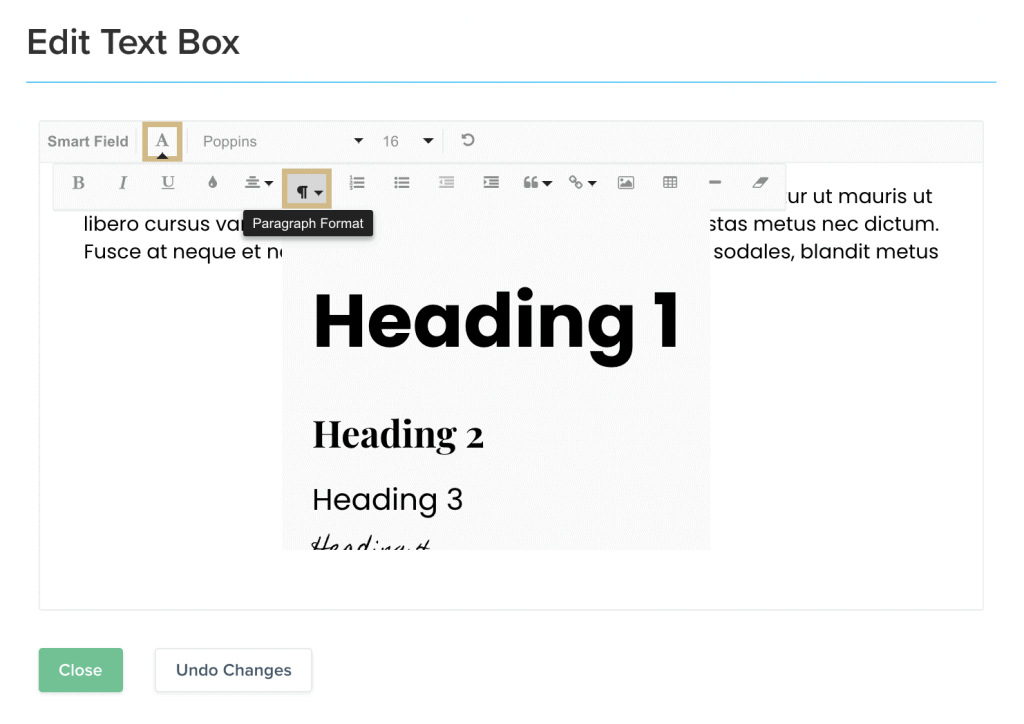
Now that your fonts are installed and set up, you can use them within Dubsado’s native text boxes. Simply drag in a text box, and you can apply your styles using the Formatting Options > Paragraph Format.
If you apply any additional formatting using the font styling options within the textboxes it will override your CSS styles. Therefore, if you’d like to use the paragraph and heading styles, it’s worth clearing the default formatting such as font family, font size and font colour. You can do this with an easy click of a button Formatting Options > Clear All Formatting.

Use the fonts within Dubsado code blocks
Now that you’ve imported your font and assigned them, you can use your fonts within code blocks. For example, anything you wrap in <h1> tags, will automatically take your H1 style.
<h1>This is a heading 1 with custom font</h1>
You may also want to assign a font to a class. This code would target any element with the class riley.
.riley {
font-family: 'riley', cursive!important;
}
To then display the font using the above class code you can simply add a code block with and assign any html the class.
<h1 class="riley">This is a custom font - riley</h1>
<p class="riley">This is a custom font - riley</p>
This is useful as you can now use your fonts within all of our Code Snippets!
Step 6: Fall Back Fonts
You should always include some fall-back fonts so that if a browser is unable to display your font, it will use the fallback fonts specified.
For example, this code below will first try to use riley, if it can’t it will then try to use Arial, and then Roboto. If it cannot use any of those fonts, it will default to the browser’s default sans-serif font. Sans-serif simply means fonts without the decorative serifs.
.dubsado-form h1 {
font-family: ‘riley’, Arial, Roboto, sans-serif;
}
Common Issues
Cross-origin resource sharing (CORS).
If you’ve followed all of the steps above and are hosting your custom fonts on WordPress, and your fonts aren’t displaying, this is likely due to something called Cross-Origin Resource Sharing (CORS).
Unfortunately, this means your host server (where your website is) may prevent you from embedding your font.
Check if you have a CORS issue
Before diving in to how to solve a CORS issue, it is worth checking you actually have one.
To do this you’ll need to be using Chrome. Whilst you are on your form page, go to View > Developer > JavaScript Console.
You have a CORS problem if you see an error which says:
Access to font at 'https://url.com/fontname.woff2' from origin 'https://hello.dubsado.com' has been blocked by CORS policy: No 'Access-Control-Allow-Origin' header is present on the requested resource.
Essentially this is saying that your resource (the font) has been requested from a domain (dubsado) outside of the domain (your website) where the resource was served.
So how can we fix that?
Fix a CORS issue
The way I have fixed it previously is to add some code to my website to allow Cross Origin Resource Sharing. You have to add this code in your htaccess file. It may be worth contacting your web developer if you’re not comfortable doing it yourself. It’s important to realize that htaccess edits can be detrimental to your site if it goes wrong.
If you are going to edit the htaccess file, I cannot stress this enough, BACK UP YOUR SITE before making any edits.
One way to edit your htaccess file through your website’s cpanel > file manager. However, there is also a way to edit it through WordPress, which I will walk you through now.
You’ll need to download a plugin to help you do this:
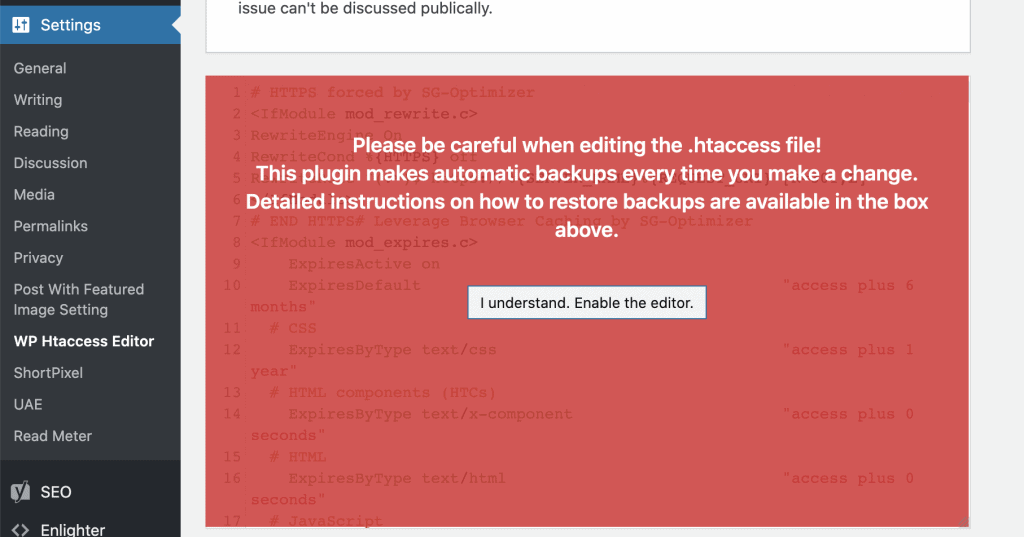
You can then go to the WordPress settings, WP Htaccess editor, and add the code below into your htaccess file. This code tells your website to allow font file types to be accessed on other domains. Be sure to read all of the plugin instructions, and make use of the test before saving option in the plugin.
<FilesMatch "\.(ttf|otf|eot|woff|woff2)$">
  <IfModule mod_headers.c>
    Header set Access-Control-Allow-Origin "*"
  </IfModule>
</FilesMatch>
Once this code is added you should be able to use your fonts in Dubsado. Once you’ve fixed the CORS issue I’d delete the htaccess plugin as you likely won’t need it again.
If it didn’t work, it may be that your host has disabled CORS completely. In that case, you’ll need to talk to your website host to see if it is something they can allow you do to. Alternatively, you may have to find somewhere else to host your fonts.
Things to know
- Dubsado requires you to add your custom code to each and every form. I recommend setting up a reference form that you can duplicate or copy and paste code from each time you need to add a new form.
- As a general rule, for SEO reasons, your headings should decrease in size and importance from H1 > H6.
- You may find in the edit mode of Dubsado the fonts aren’t working. However, they should show in the preview mode.