

You have to add your CSS codes to each Dubsado form or proposal that you create. In order to keep all of my CSS codes easily accessible and up to date, I create a CSS reference form. This way whenever I create a new form I can either duplicate my reference form or copy and paste different elements from the reference sheet to add into my new form.
I really recommend using a blank form as a reference sheet to build all your HTML and CSS elements, then once you’re happy you can simply add the code to the top of all of your forms! You can then use this form as a reference to easily access your CSS code for later use.
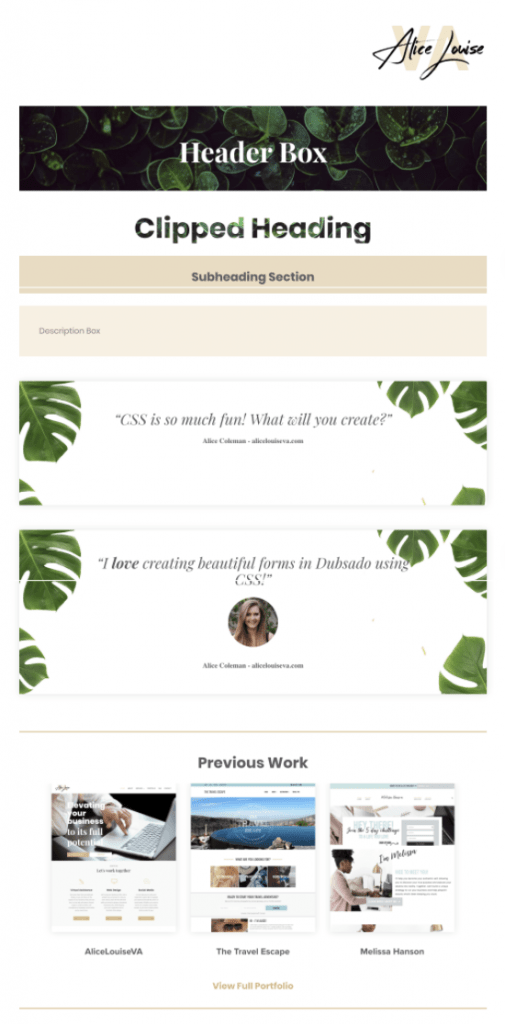
This is what my reference sheet looks like. All of my CSS and HTML elements are in this form so I can quickly come back to this form and copy any bits of code I need in the future. For example, when I want to add my testimonial slider to any form, I just come to my CSS Reference form and copy and paste the code over. Super easy!
Create your CSS reference sheet
Head into Dubsado and create a blank form, name it something like *CSS Reference Sheet. Adding a star in front of the name means it will show at the top of your list, so you can always find it easily!
It can be any type of form, except contracts and sub-contracts as they don’t allow code blocks.
Now add a code block. At the moment the form is empty so it will already be at the top of your form. Make sure to always keep it at the very top or very bottom of your form, this will help you find it later!
Next, you need to tell the code block that you’re giving it CSS code. It will assume that you’re giving it HTML unless you tell it otherwise. Just add the following text to your code block.
<style>

</style>
Now your code block knows you are using CSS. When you hit save the code block is going to look empty. That’s okay, HTML code typically shows an output whereas CSS is all behind the scenes.
Just remember, this block at the top of your form is where the CSS code lives. We’re going to add new CSS code throughout this course and it will always go either into this particular code block or in the same block as its corresponding HTML. You don’t want to be creating a new code block every time you add CSS code, but you will want new code blocks for each HTML element you create.